Htamin sa pi bi la? This is the traditional greeting of Burma and translates appropriately as 'Have you eaten?'
Burma is on my bucket list of places to visit. I've heard so much about it from my grandmother's stories about her childhood growing up there; I am desperate to see it for myself one day. It is only recently that this has really become a possibility although there are still areas of Burma which are off limits to tourists.

In the meantime, I can eat Burmese food. Strangely enough, my grandmother never made us traditional food when we visited her although she has still managed to influence our tastebuds! My mum loves ngapi (prawn paste) on toast and will start drooling at the mention of balachaung, although the smell will make you choke a bit, especially if you are not used to it, and both my mum and myself will happily munch cold curry on toast or in a sandwich for breakfast. Grandma used to show up at our home with carrier bags filled with sweet smelling ripe mango's which my sister would quite happily work her way through in a single sitting and my grandmother herself has an incredibly sweet tooth, fuelled by her love of malaing lohn, the Burmese version of gulab jamun. I even have a longyi that I never get a chance to wear, and the sepia picture of my grandmother in her traditional wedding dress, hair in a top knot pony tail and draping down her shoulder to her waist, studded with orchids and other flowers, is one of my favourite family photos.

I have never cooked Burmese food before though, and despite the fact that I have never been, I thought it was about time I learned the cuisine of my (grand) motherland.
All the women in my family
have this cook book by Naomi Duguid - it's so good that when my cousin asked my grandmother to write a cookery book for her of all the recipes she had growing up, she just bought her a copy of this instead!
I love this book - it is utterly beautiful inside and manages to somehow capture a land that for me is shrouded in romance and mystery. The photography is breathtaking and it focuses on the culture of the country, the hospitality of the people and the role food plays in everyday life. It does not dwell on Burma's tumultuous political history.
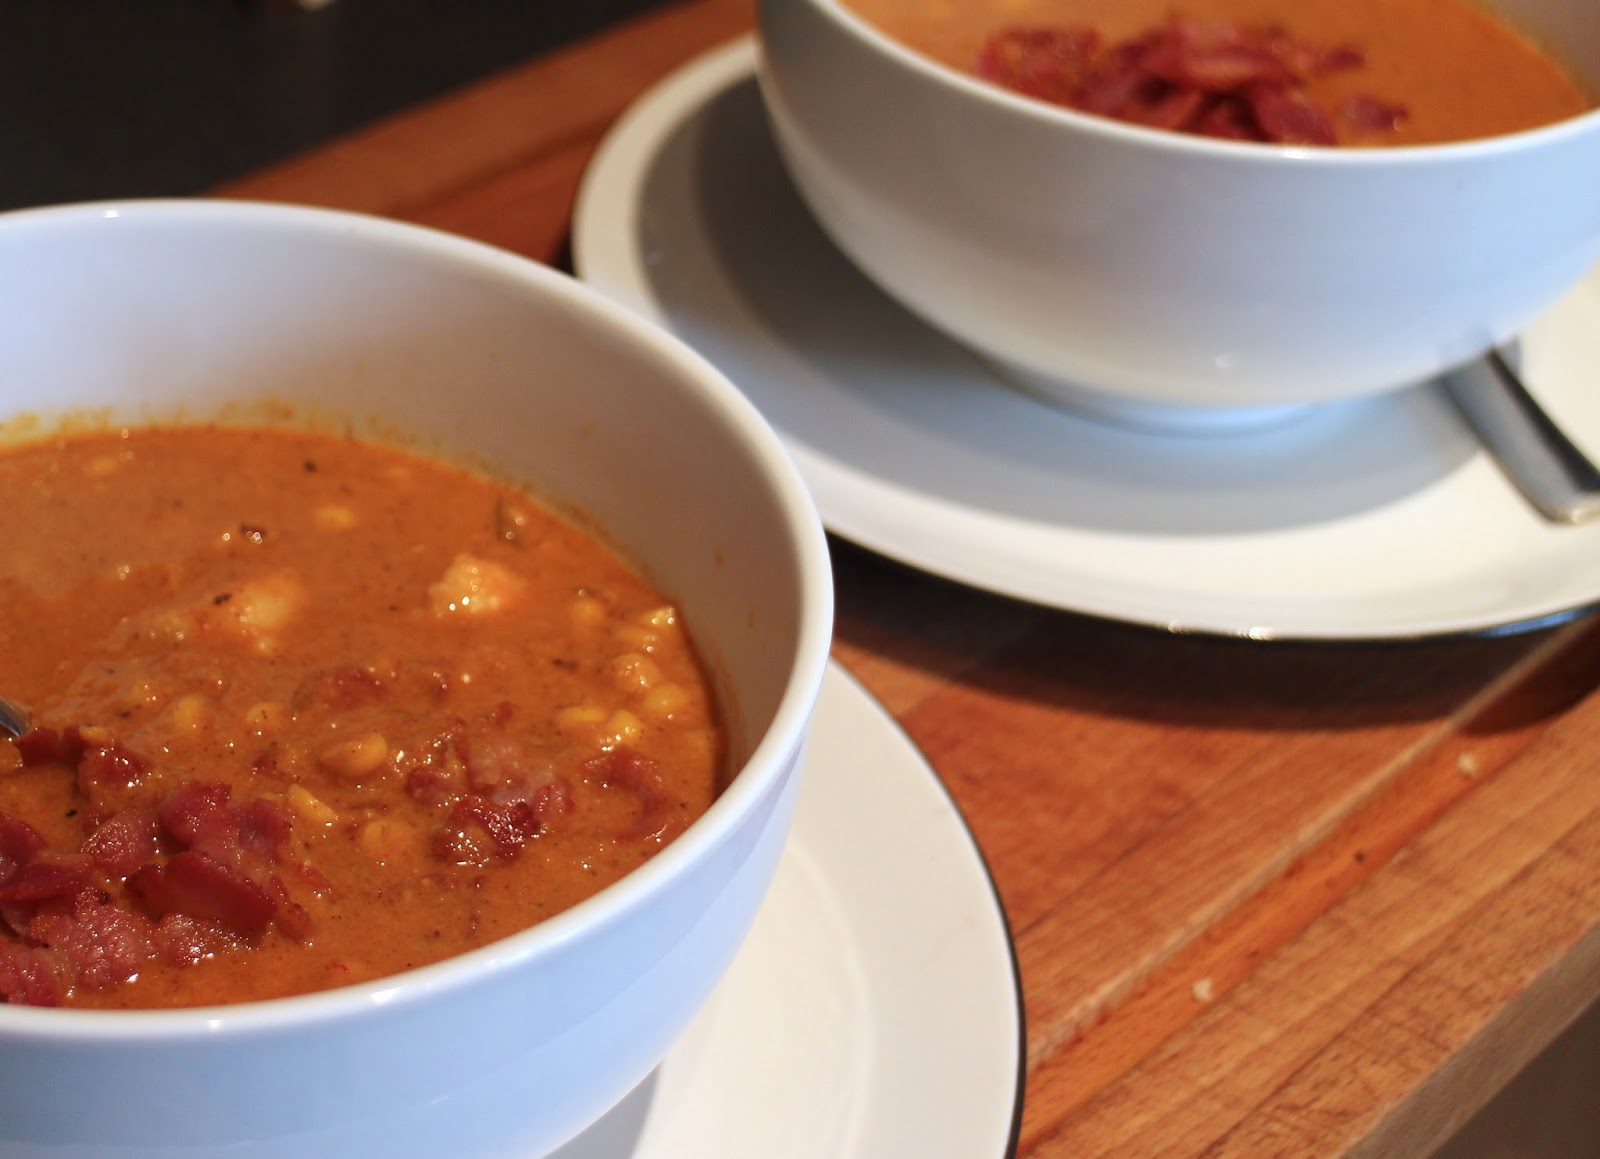
As I was leafing through it, I came across one particular recipe that I really wanted to try; a simple prawn curry with fried rice and crispy shallots.
The flavours are undoubtedly Asian in origin, but not as pronounced as those of Thailand or China - there is an Indian influence which gives Burmese food its own unique characteristics. I found it to be subtle, delicate and lightly balanced. The dishes rely heavily on shallots, tomato's and (not surprisingly) rice, as well as a variety of meats and seafood. It takes quite a bit of preparation, but it is worth it!
This meal is a feast and makes a fabulous alternative to a Saturday night take away curry; I highly recommend it!
Fried Shallots and Shallot Oil
1 cup peanut oil
2 cups thinly sliced shallots
Using a heavy wok, heat the oil until it sizzles lightly. Test the temperature with one slice of shallot; when it rises to the surface of the oil you can add the rest carefully and lower the heat to medium. Stir gently and frequently and when the shallots turn golden (about 10 -15 minutes) carefully remove from the oil with a slotted spoon or a spider and leave to drain on kitchen paper. As they cool they will crisp up. Set the oil to one side for cooking with for the rice and the curry
Fried Rice
2 to three tablespoons of the shallot oil from above
1/4 teaspoon turmeric
1/2 cup sliced shallots
4-5 cups cooked and cooled jasmine rice
1 teaspoon salt
1 cup green peas (frozen is fine)
fried shallots
lime wedges
Cook the jasmine rice according to the packet instructions, drain and leave to cool
Heat the shallot oil in a heavy wok then add the turmeric and the shallots and stir fry until the shallots are soft and translucent, about 5 minutes.
Raise the heat to high and add the jasmine rice, salt and peas. Stir fry, pressing the rice against the side of the wok to sear it. Continue cooking until the rice is hot by which time the peas will have cooked through. Add the fried shallots, stir and serve with the curry, topping with lime wedges.
Prawn Curry
200g peeled prawns
1/2 cup finely diced shallots
1/2 teaspoon crushed garlic
2 tablespoons shallot oil
1/2 teaspoon turmeric
1 tin chopped tomatoes
3/4 cup water
2 teaspoons fish sauce
1 green birdseye chilli, finely chopped and de-seeded if you want less heat
1/2 teaspoon salt
coriander leaves and lime to dress
Pound the garlic and shallots to a paste in a pestle and mortar
Heat the oil in the wok over a medium high heat. Add the turmeric and stir, then add the shallots and garlic paste, lower the heat to medium and cook, stirring frequently until soft and translucent. Add the tomatoes and cook for about 5 minutes at a medium boil stirring occasionally until the tomatoes are softened and any excess oil has risen to the surface.
Add the water and fish sauce, bring back to a medium boil and add the prawns. Cook until the prawns turn pink then add the chopped chilli and salt, stir briefly, check and adjust the seasoning if required and serve over the fried rice, garnished with coriander leaves and lime.
Now I just need to travel to Burma to taste food like this on the banks of the great Irrawaddy river...